
Budget Makeover Before and After: Real Room Transformations for Under $500
You don’t need a $30,000 renovation to fall in love with a room again. A real budget makeover before and after tells you everything a glossy show can’t: what it actually cost, what step made the biggest difference, and what you can skip entirely. The best transformations aren’t the ones with the biggest budgets. They’re the ones where every dollar had a job to do.
Below is a room-by-room tour of real budget makeovers, what they cost, what worked, and a comparison chart so you can plan your own project before you spend a single dollar.
What Counts as a “Budget” Makeover (Setting Expectations)
“Budget” means different things depending on the room, so it helps to think in tiers instead of one flat number.
- Under $100: Furniture rearranging, decor swaps, paint on a small accent area, and shopping items you already own from other rooms.
- $100 to $500: A full paint job, new hardware, lighting upgrades, a rug, and a few intentional decor pieces.
- $500 to $2,000: Cabinet painting plus new fixtures, a vanity or faucet swap, tile touch-ups, or a small furniture investment like a sofa or bed frame.
A $500 living room redo and a $500 kitchen redo don’t look the same, because kitchens and bathrooms carry higher material and fixture costs per square foot. Judge your own project against rooms of the same type, not against a number in isolation.
Living Room Before and After on a Budget
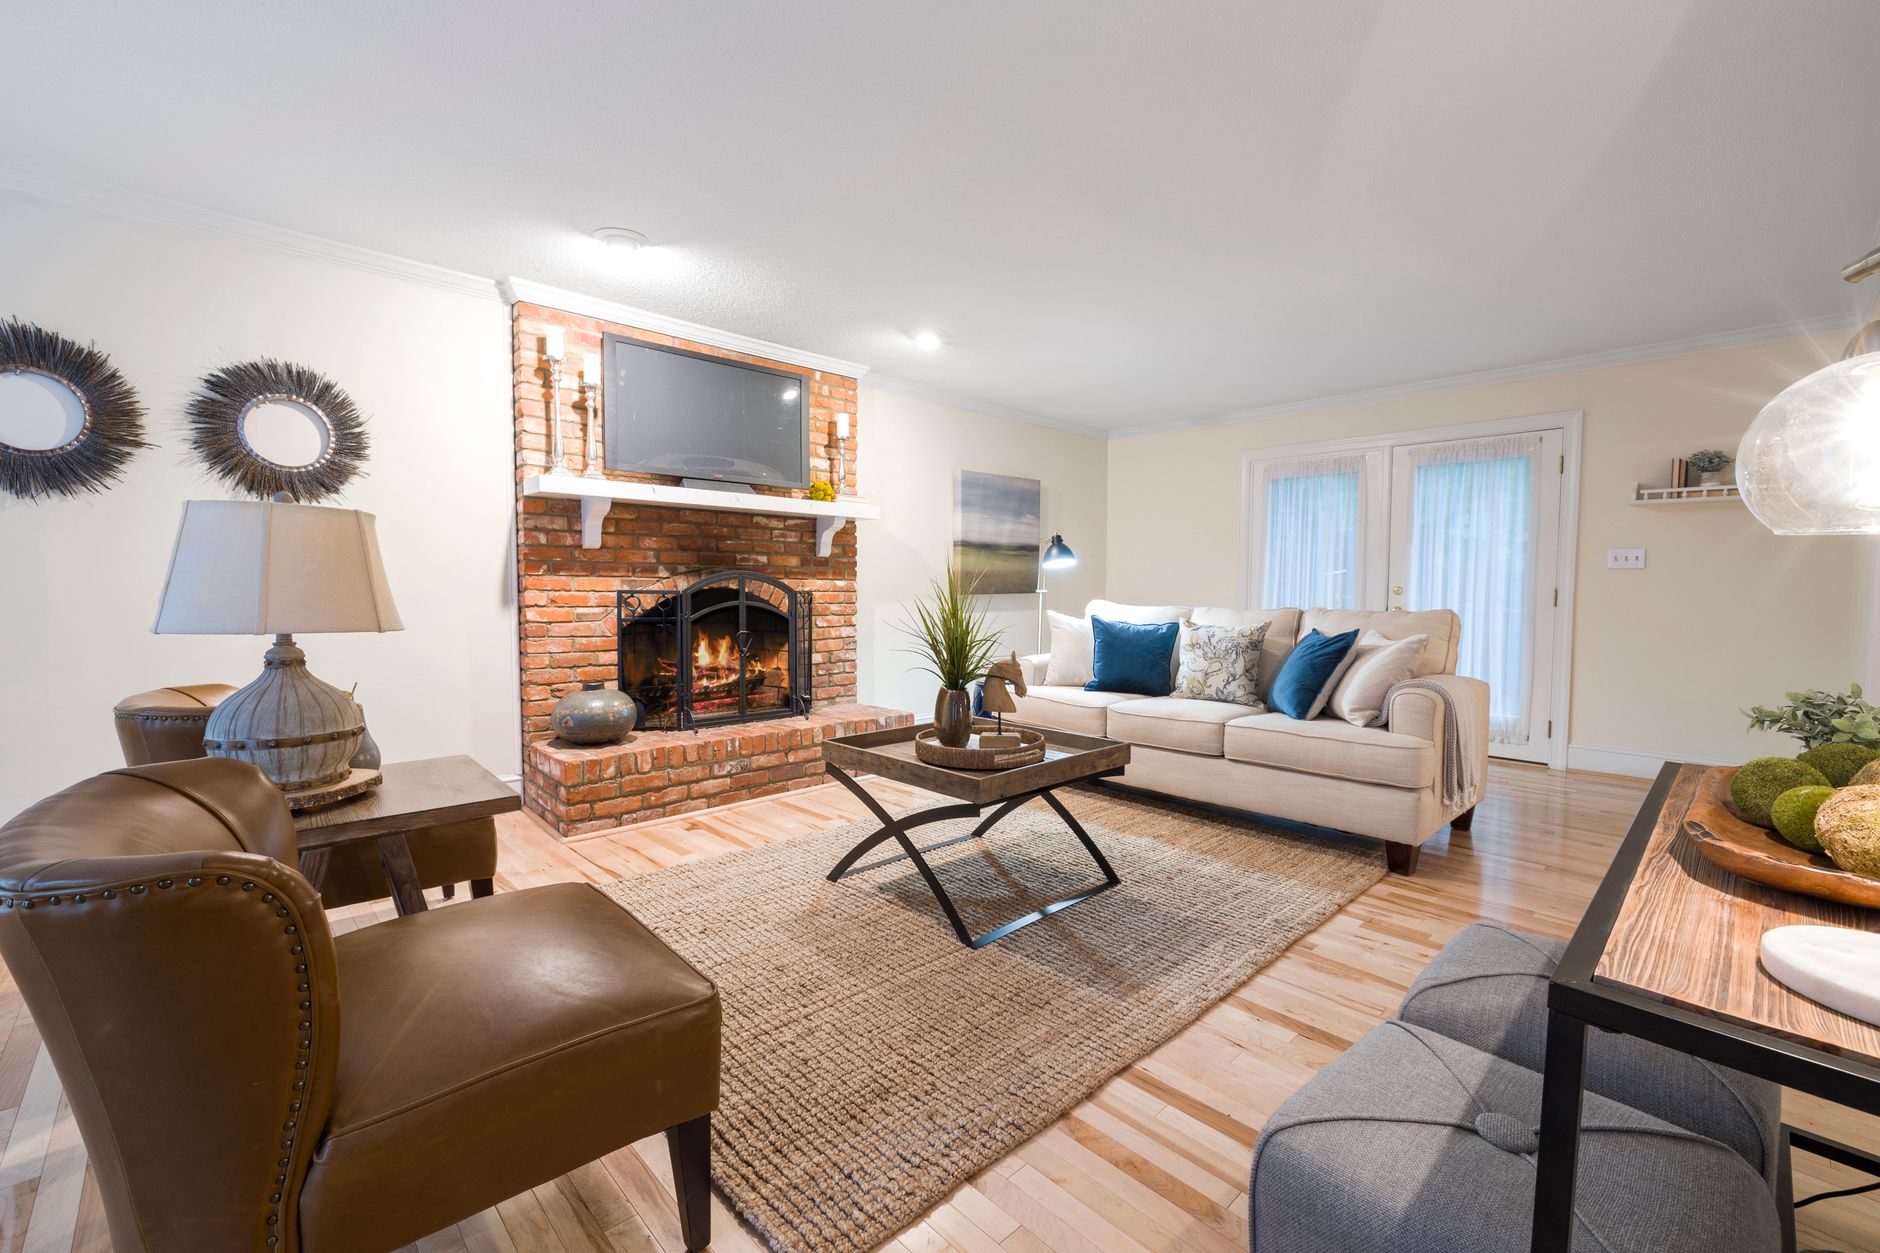 Photo by Curtis Adams on Pexels
Living rooms are where budget makeovers prove their worth, because so much of the transformation comes from arrangement and styling rather than new purchases.
One widely shared $79 living room case study turned a flat, uninspired space around with almost no new spending. The homeowner rearranged existing furniture to create better flow, shopped other rooms in the house for accent pieces instead of buying new, and added color and texture through pillows and a throw blanket that had been sitting in a closet. Nothing was purchased that didn’t already have a clear spot to go.
A mid-range version of the same idea adds a bit more spend but a bit more impact. One well-documented 1969 fixer-upper transformation points to a single lighting change, adding a solar tube for natural daylight, as the true game-changer in an otherwise budget-conscious redo. Swapping a single overhead fixture for better lighting, editing down furniture to just the pieces that earn their space, and layering in two or three new decor pieces can land comfortably in the $200 to $400 range.
If you’re starting from scratch, the cheapest high-impact swaps in a living room, in order of value per dollar, are: paint on one accent wall, a new lighting fixture or lamp, an area rug that anchors the seating area, and one piece of art sized to the wall it’s on. All four of these ideas are covered in more depth in our living room makeover guide.
Bedroom Before and After on a Budget
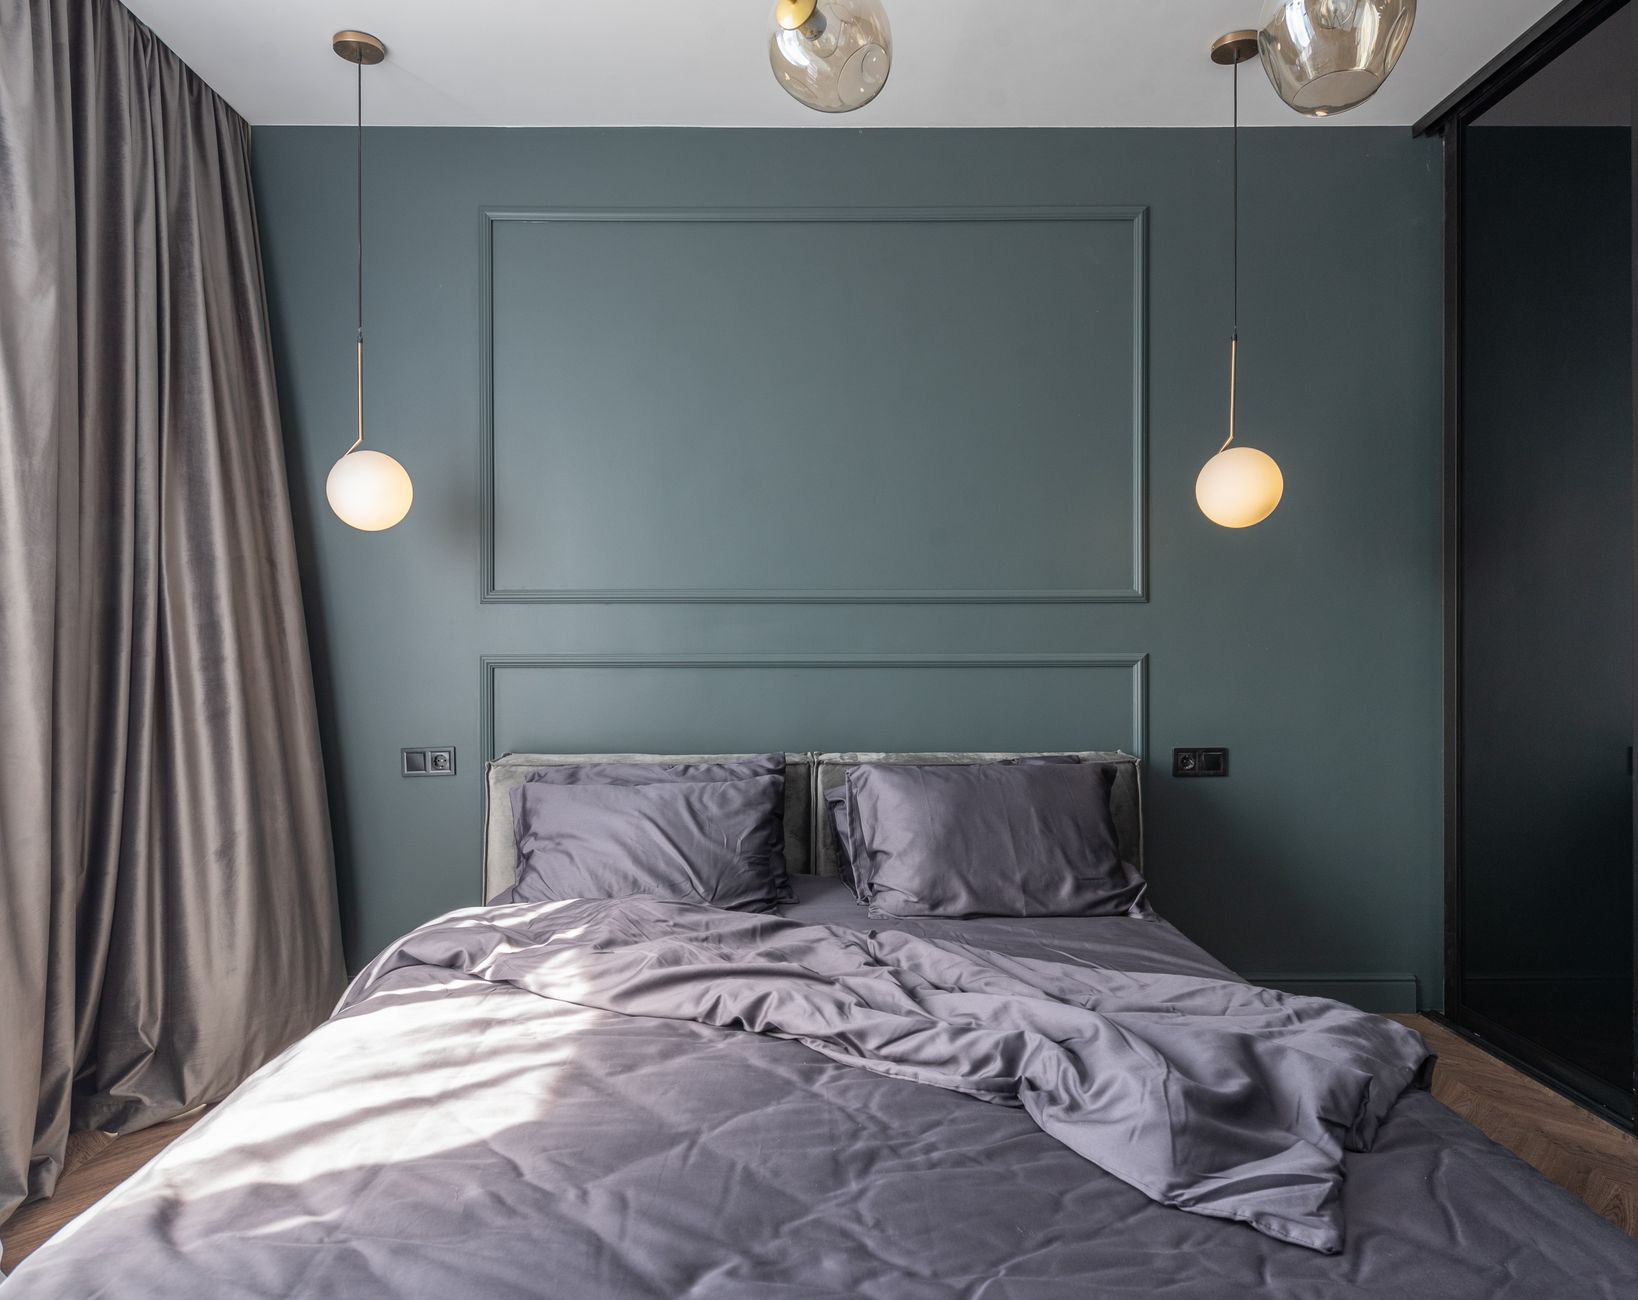 Photo by Max Vakhtbovych on Pexels
A dated bedroom can go from tired to calm retreat with three changes: paint, bedding, and layered lighting.
Paint does the heaviest lifting. A soft, muted color (sage, warm greige, or a dusty blue) instantly makes a room feel intentional instead of accidental. Bedding is the second-highest-impact change: a matched duvet set with two or three throw pillows in coordinating textures reads as expensive even when it costs under $80. Lighting layers, a bedside lamp on each side plus one ambient source, replace the harsh single overhead bulb that makes most bedrooms feel like a hotel hallway.
In small bedrooms, a few tricks make the space read as “designed” rather than “empty.” Floating shelves instead of a bulky dresser free up floor space. A rug that extends slightly under the bed frame, rather than floating in the middle of the room, makes the whole layout feel grounded. And keeping nightstands to a single matched pair, even if mismatched with the rest of the furniture, creates visual symmetry that the eye reads as “finished.”
Where should you skip spending? Skip an expensive headboard if your walls are already painted well, a bed frame with a simple, clean silhouette does the same visual job for a fraction of the cost. Our full bedroom makeover on a budget guide covers the exact order to tackle these changes in.
Kitchen Before and After on a Budget
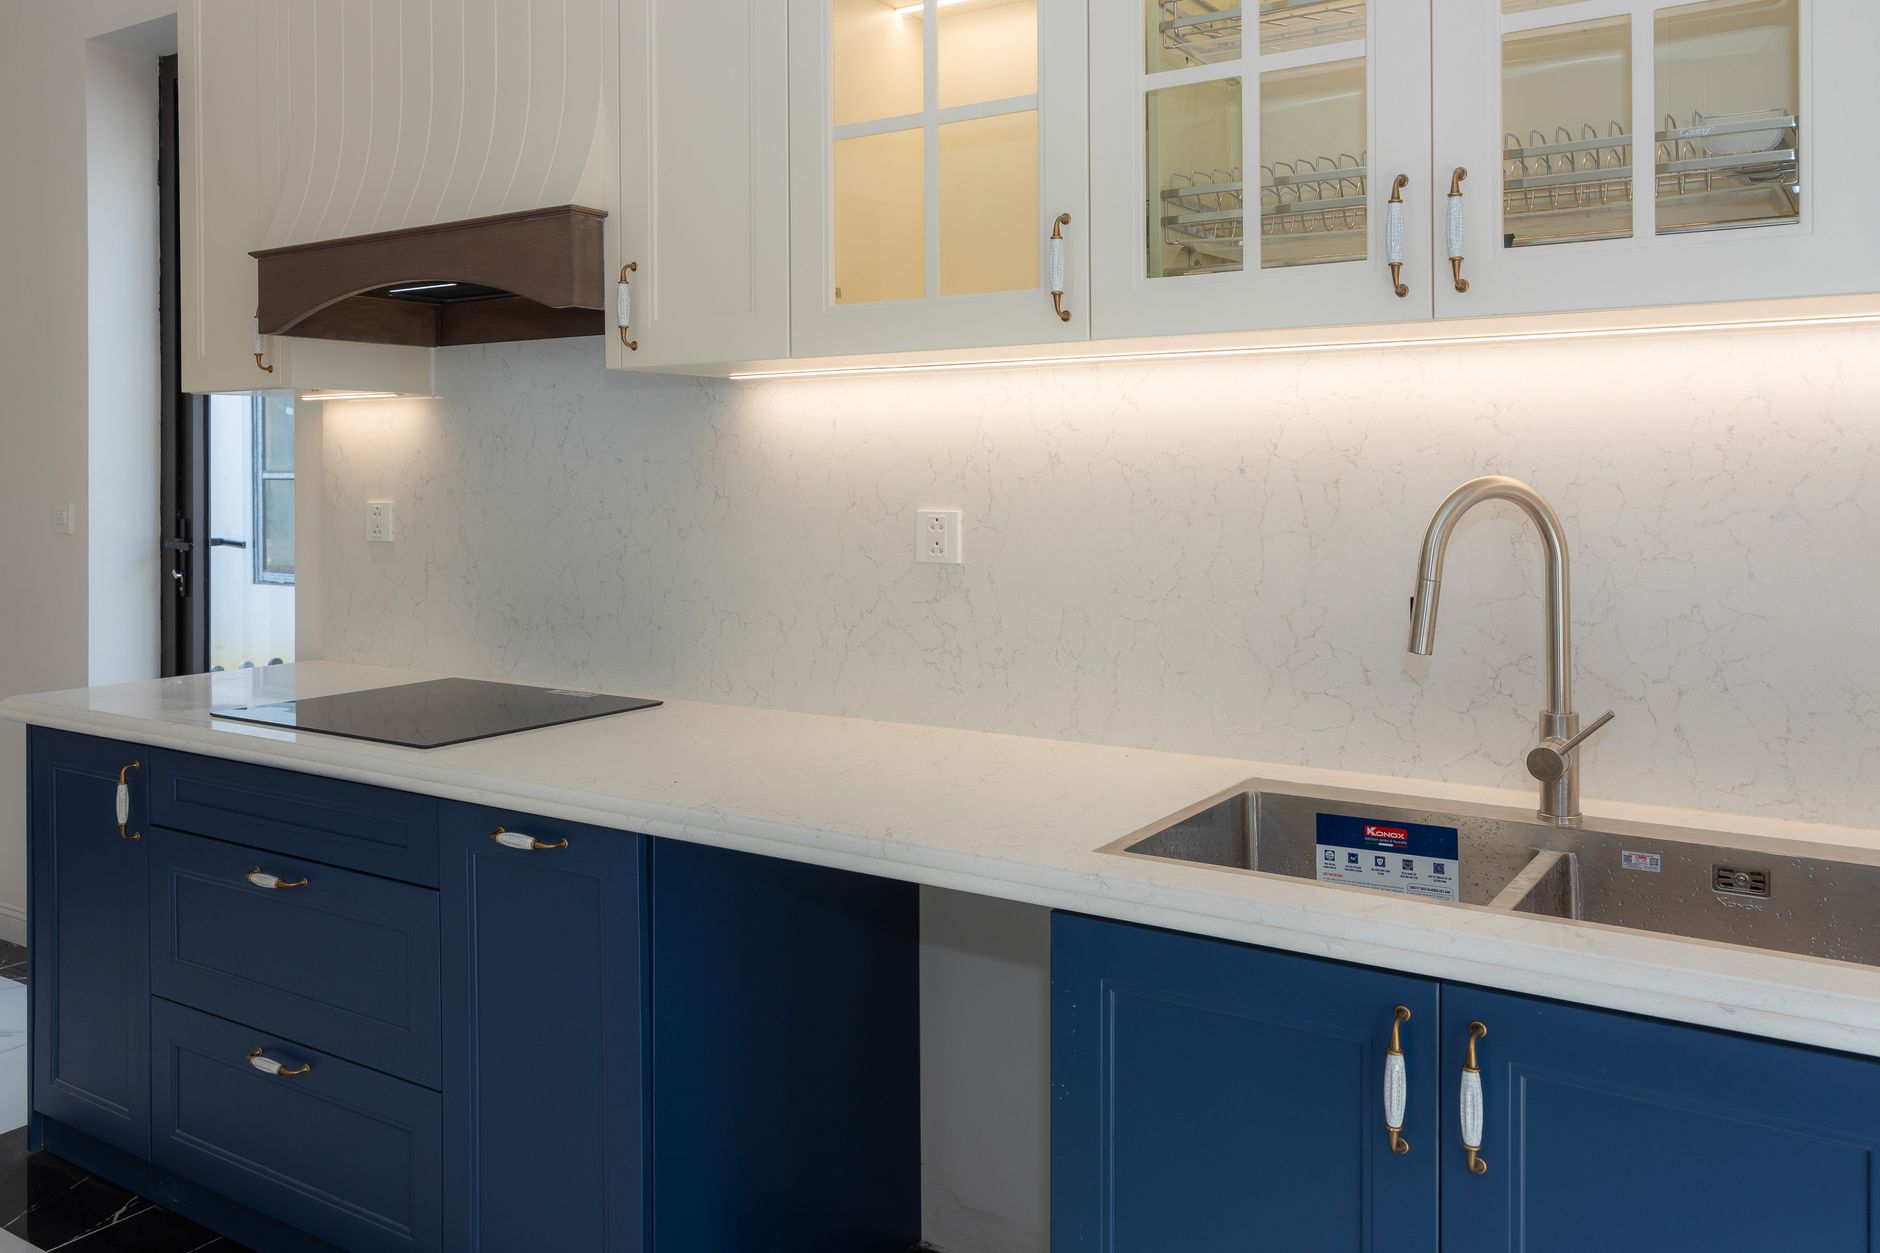 Photo by HONG SON on Pexels
Kitchens have the highest fixed costs of any room in a budget makeover, but they also have the single highest-impact, lowest-cost move available in any room of the house: painting the cabinets.
A coat of cabinet-grade paint in a satin or semi-gloss finish, applied over a bonding primer, can take dated oak or honey-toned cabinets and make them look custom for around $100 to $150 in materials. One budget kitchen makeover breakdown pairs exactly this move with a hardware and dimmer swap to prove the point: this one change, more than any other in this list, is the difference between a kitchen that reads “dated” and one that reads “renovated.”
Hardware and fixture swaps come next. New cabinet pulls, a matte black or brushed brass finish, and a new faucet in a matching tone can run $100 to $250 combined and take an afternoon to install with basic tools.
Finally, styling touches that photograph well round out the transformation: open shelving to display a few curated dishes, a small coffee station on the counter, and warm under-cabinet lighting. None of these are expensive on their own, but together they’re what makes a kitchen makeover look finished in photos, not just functional in person.
Bathroom Before and After on a Budget
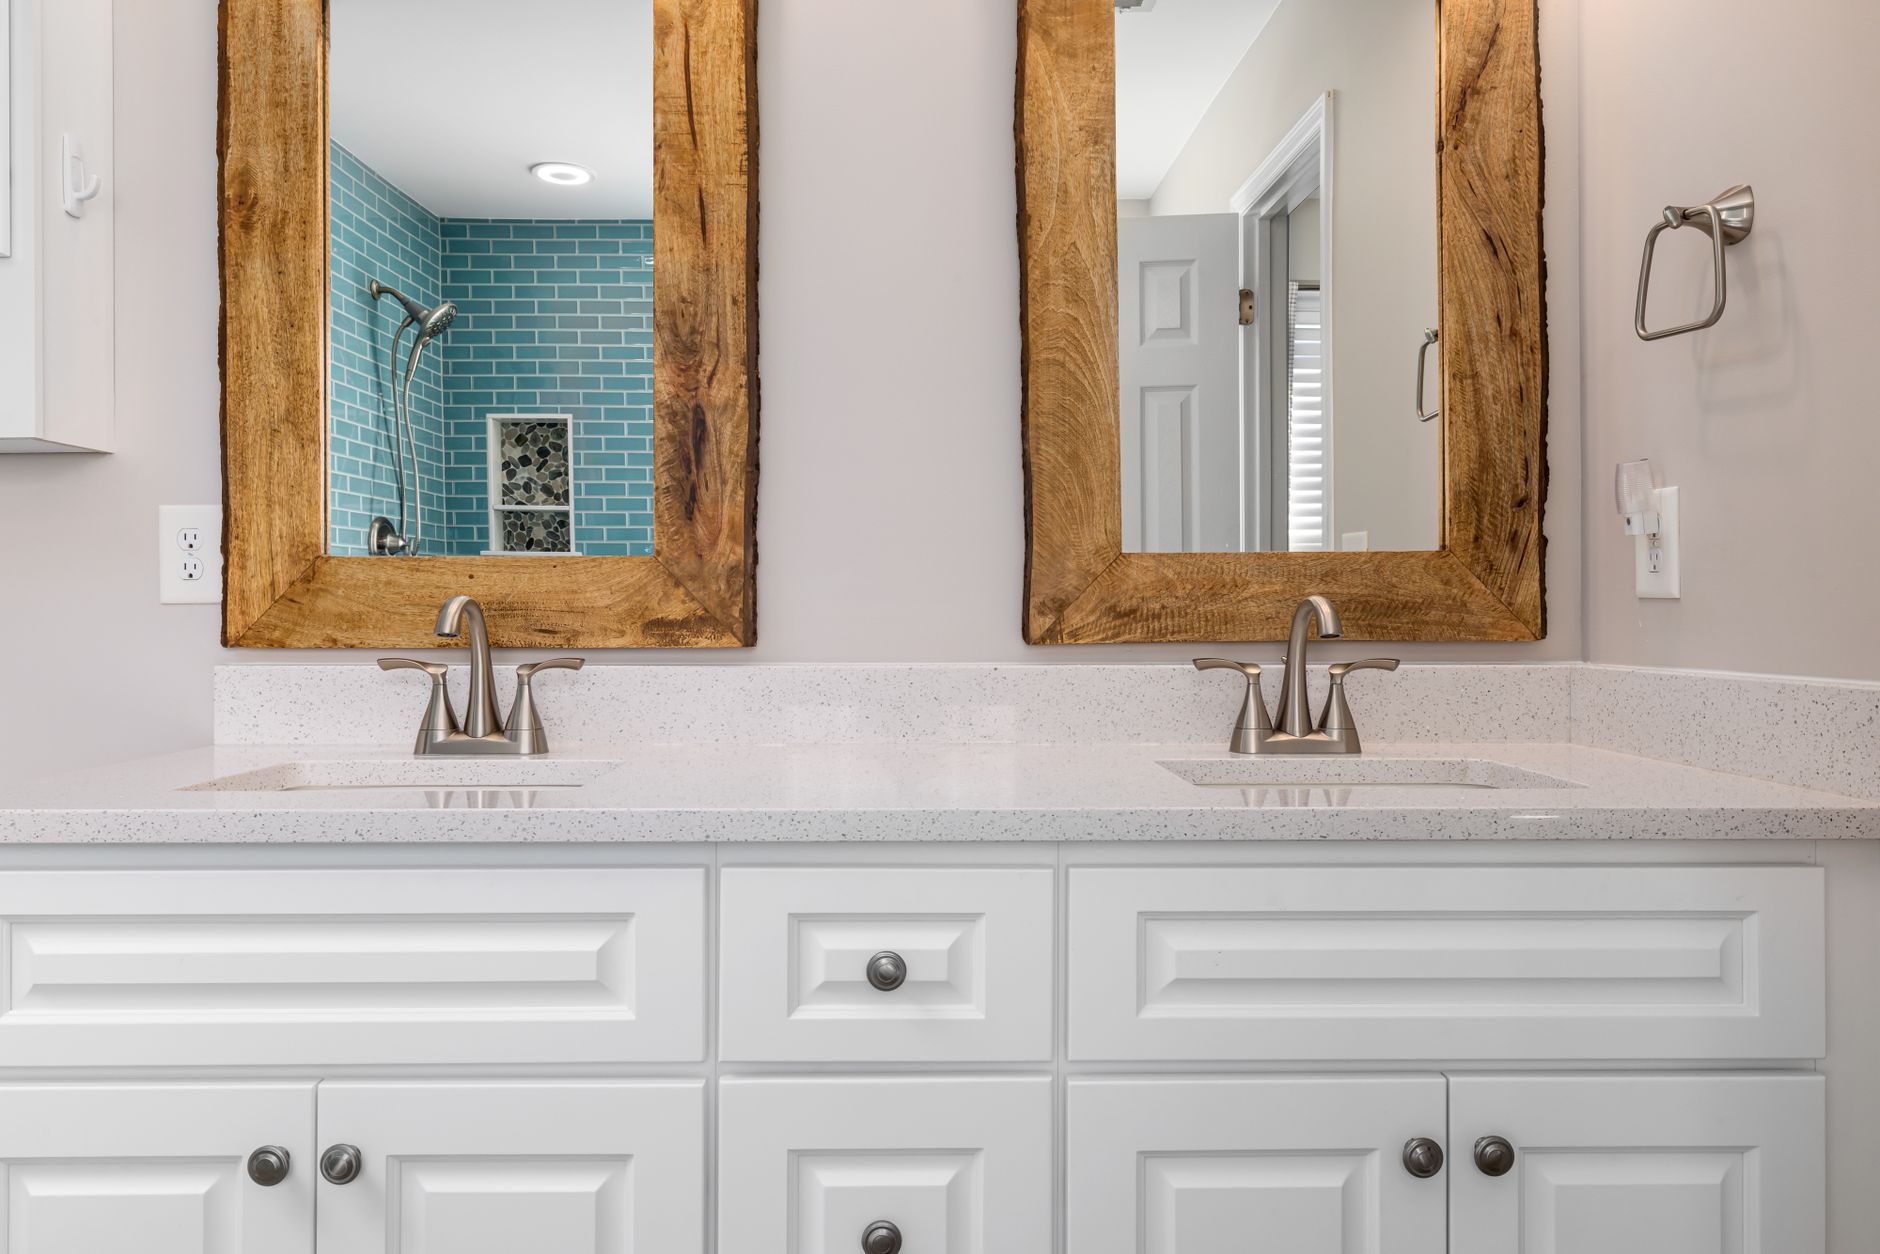 Photo by Curtis Adams on Pexels
Bathrooms respond to what we’d call the “big three” cheap wins: paint, caulk, and hardware.
Fresh paint on the walls (and the vanity, if it’s original wood or laminate) resets the whole room for under $75 in most cases. New caulk around the tub, sink, and baseboards is one of the most overlooked budget fixes, old, yellowed caulk makes even a clean bathroom look grimy, and a $10 tube and an hour of work solves it completely. New hardware, towel bars, a toilet paper holder, and cabinet pulls, ties the whole look together for another $50 to $80.
Where does a small splurge pay off? A new mirror and a new light fixture are the two upgrades most likely to justify spending a bit more than the bare minimum. Both sit at eye level, both get photographed constantly, and both make every other change in the room look more intentional by association.
Budget Makeover Comparison Chart
Real numbers help more than averages, so here’s how several real budget makeovers stack up against each other, room by room.
| Room Type | Total Spend | Biggest Expense | Biggest Money-Saver | Time to Complete |
|---|---|---|---|---|
| Living Room (rearrange-focused) | $79 | New throw pillows | Shopping other rooms for decor | 1 weekend |
| Living Room (lighting-focused) | $350 | Solar tube / lighting install | Reusing existing furniture | 1-2 weeks |
| Bedroom | $220 | New bedding set | DIY floating shelves vs. new dresser | 1 weekend |
| Kitchen | $480 | Cabinet paint + primer | Keeping existing cabinet boxes | 1-2 weeks |
| Bathroom | $165 | New light fixture | DIY caulk refresh vs. new tile | 1 weekend |
Use this chart as a benchmark. If your kitchen quote is running well past $480 for paint-and-hardware-level changes, or your bathroom is creeping past $200 without new tile or plumbing, it’s worth revisiting your shopping list before you commit.
What Actually Moves the Needle
Looking across every room type above, the same patterns show up again and again.
Paint and lighting appear in nearly every high-impact makeover, regardless of room. They’re the two changes that affect how a space feels the instant you walk in, and they’re rarely the most expensive line item on the list. Furniture rearranging and “shopping your own house” cost nothing and show up repeatedly as the single highest return-on-investment move in any room-by-room comparison.
That gives you a simple framework you can apply to any room before you spend a dollar: spend on paint, lighting, and one hero piece (a mirror, a rug, or a light fixture). Skip an expensive headboard, a brand-new dresser, or full cabinet replacement if a cheaper fix (a clean silhouette, floating shelves, or a coat of paint) gets you 80% of the same result. Do the free and low-cost changes first, rearranging, decluttering, styling with what you already own, and let those reveal exactly what’s actually still missing before you buy anything new.
Frequently Asked Questions
How much does a budget room makeover actually cost?
Most real examples land between $50 and $500 per room. Kitchens and bathrooms trend higher, often $500 to $2,000, because of fixture and material costs that living rooms and bedrooms don’t have.
What’s the cheapest way to makeover a room?
Paint, rearranging existing furniture, and swapping hardware or lighting consistently deliver the biggest visual change per dollar spent. All three can be done in a single weekend with basic tools.
Can you renovate a room for under $100?
Yes. Case studies show full living room refreshes for under $80 using paint, decor pulled from other rooms, and DIY focal points like a simple shelf.
What should you splurge on in a budget makeover?
Lighting fixtures and one “hero” piece (a mirror, a statement chair, or a rug) tend to be worth the extra spend, since they anchor the whole room and make every other change look more intentional.
How long does a budget makeover take?
Single-room budget makeovers typically take a weekend to two weeks, depending on whether painting or fixture installs are involved.
Do budget makeovers really look as good as expensive renovations?
Before and after photos across real case studies show that strategic changes, paint, lighting, and layout, can rival full remodels in visual impact, even when the materials cost far less.
What order should I do a budget makeover in?
Start with paint and lighting first, since they affect how every other choice in the room reads. Then move to layout and furniture, and save final styling and decor for last.
Where can I find real budget makeover before and after photos for ideas?
Beyond the examples here, home blogs and forums are the best source for real, unstaged transformations with honest cost breakdowns, since they show the process, not just a polished final shot.
The Takeaway
Every example above proves the same point: small, smart spending beats a big budget when you know where to put your money. Paint before you buy furniture. Rearrange before you shop. Save the splurge for the one piece that will actually get noticed. If you’re ready to start your own transformation, browse our budget room makeover guides for more room-specific ideas, or come back for new before and after features as they go live.


