
A Budget Living Room Makeover Under $200
A cheap living room makeover doesn’t have to mean a stack of return-label boxes from a big-box store or a weekend spent arguing over paint chips you’ll regret in a month. It usually means the room has been quietly bothering you for a year or two, not because it needs gutting, but because nobody ever sat down and mapped out what $200, spent in the right order, could actually do for it. This is that map: a step-by-step plan for a full living room refresh under $200, with a real budget breakdown, a realistic weekend timeline, and a renter-friendly swap for every step that would normally involve paint or a drill.
Start Here: Set Your $200 Budget Before You Buy Anything
Before a single dollar leaves your wallet, walk into the room and sit in the spot you actually use most. Not where you’d sit for a photo, where you actually sit on a Tuesday night. From there, note the three things that read as tired, dated, or just plain empty. That short list becomes your priority order, because a budget makeover only works if the money goes toward what your eye actually lands on first.
As a rule, spend in this order: the seating area people look at first, then the walls, then the smaller styling layers on top. A simple way to split $200 looks like this:
- $0 on rearranging what you already own
- $40 on paint or a peel-and-stick accent
- $60 on textiles (pillow covers, a throw, maybe a rug)
- $50 on one thrifted or secondhand piece
- $30 on decor and a plant
- $20 held back as a buffer for whatever surprises you along the way
That buffer matters more than it sounds like it should. Budget makeovers fall apart when every dollar is already spent before the room starts coming together.
Rearrange the Furniture First (Free)
 Photo by Roshan Patel on Pexels
Before you buy anything, move what’s already in the room. Pull seating away from the walls and angle it toward a real focal point, whether that’s a fireplace, a window, or a piece of art, rather than defaulting to a straight line facing the TV. Creating one clear conversation area, even a small one, makes a living room feel considered instead of just furnished.
Walk the new layout before you commit to it. Check that the path from the doorway to the seating doesn’t force anyone to squeeze past a coffee table, and that there’s still a natural spot to set down a drink. This step costs nothing and, more often than people expect, it’s the single biggest visual change in the whole project.
Shop Your Own House Before You Buy Anything
Once the furniture is settled, look at what’s sitting unused in other rooms. A lamp from the guest room, a framed print from the hallway, a throw blanket from the linen closet: rotating these into the living room gives you a “new to you” refresh without spending a cent. Pull a rug or a side table from a spare room if the living room is missing one, rather than buying either outright.
The trick is editing, not just adding. Whatever you don’t use, box up and store out of sight. A room with three well-placed items reads as intentional; the same room with eight competing ones reads as cluttered, even if every piece is nice on its own.
This is also the stage where it helps to think about the room’s overall shape, not just its objects. If you’ve never really approached decorating a living room from scratch, the same core moves (focal point, layering, editing) apply whether you’re starting with nothing or refreshing a room that’s been the same for years.
Paint Where It Counts Most
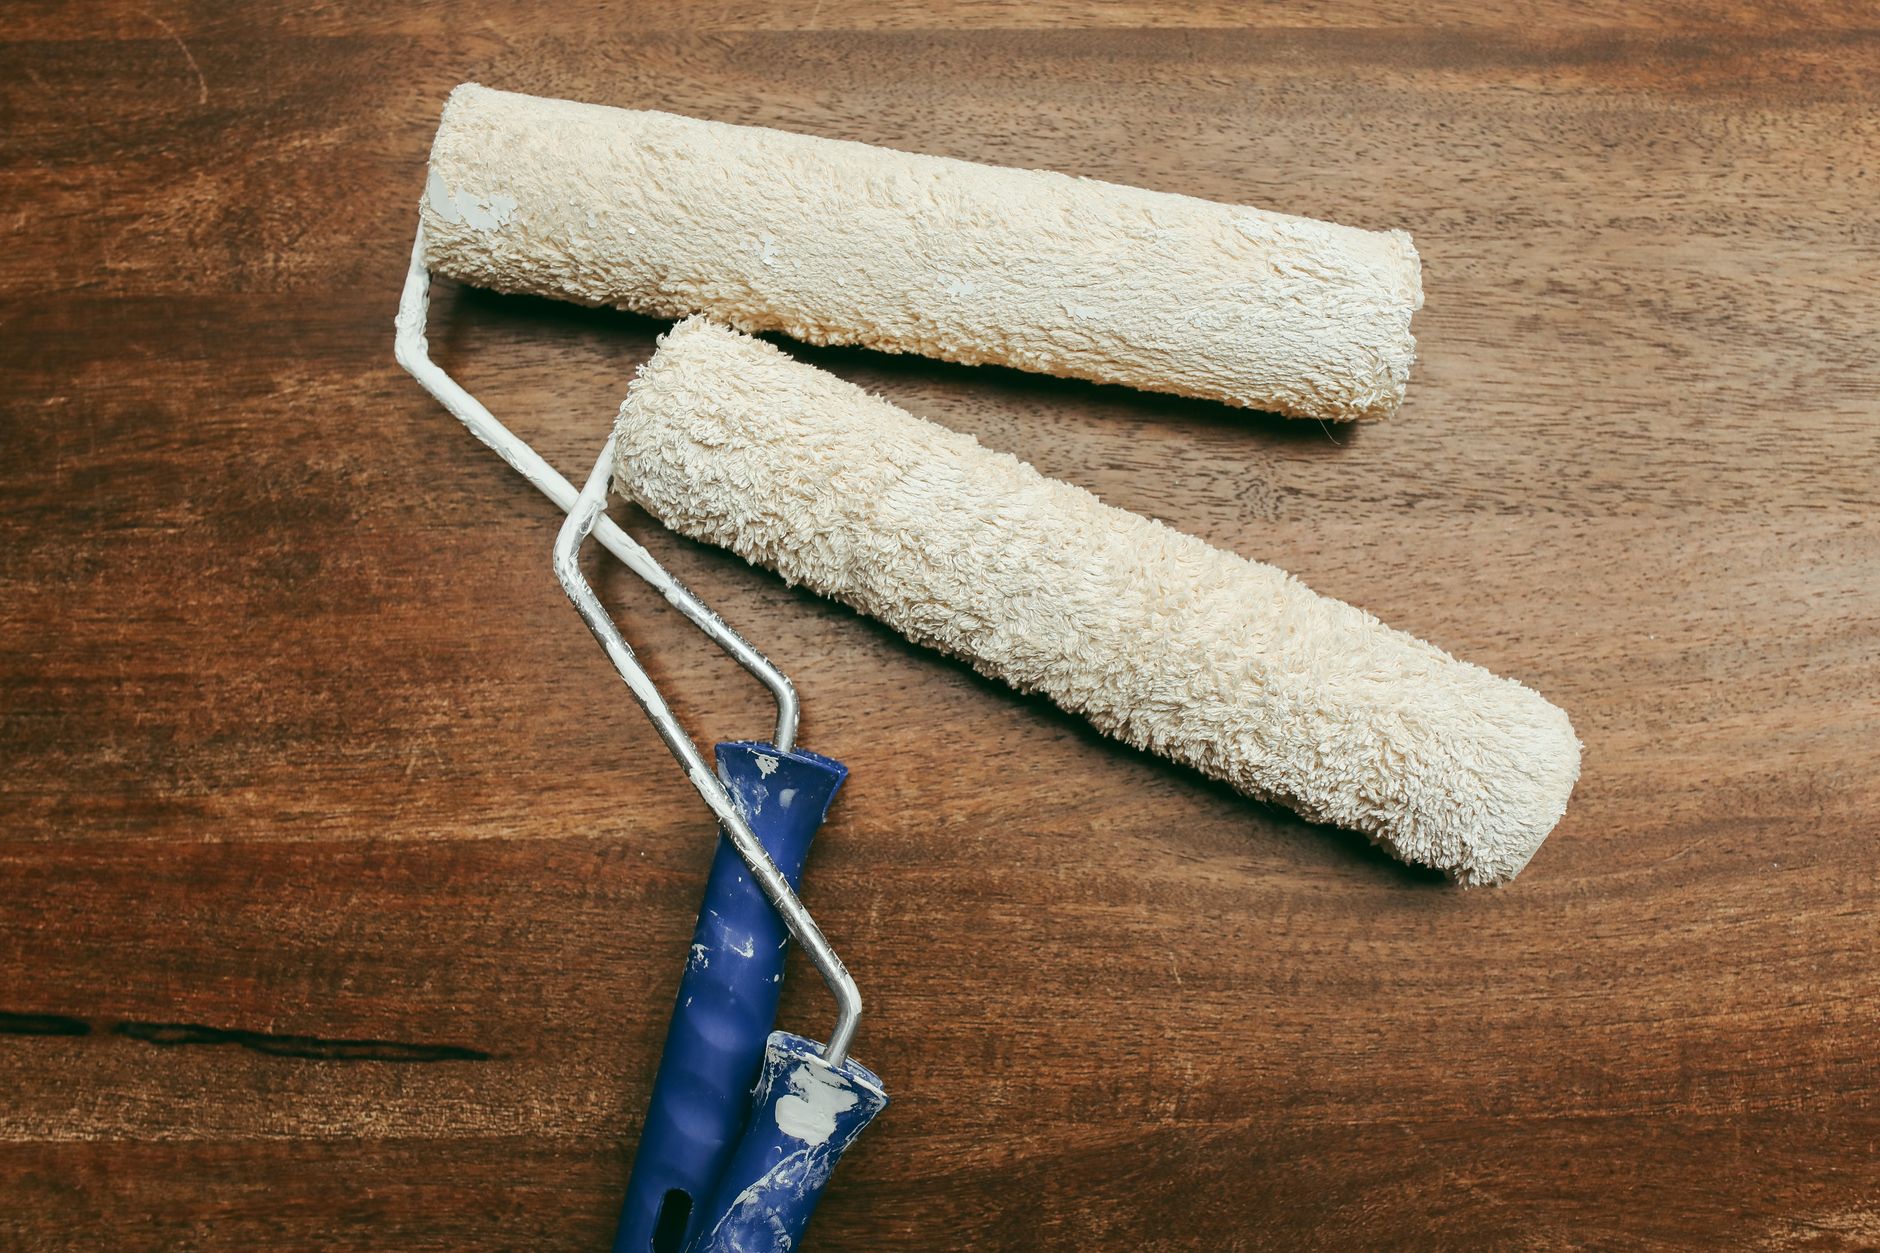 Photo by Polina Tankilevitch on Pexels
Skip painting the whole room. Instead, paint one thing that carries the most visual weight: an accent wall behind the sofa, a fireplace surround, or even a single piece of furniture like an old bookshelf or console table. A sample-size pot of paint, which typically runs $8 to $12, is usually enough for one accent wall or a smaller furniture piece, and it keeps this line item well inside the $40 budgeted above.
If you rent and can’t paint at all, peel-and-stick wallpaper panels are the closest substitute, and they come down cleanly at move-out. A painted canvas leaned against the wall, or a simple room divider, can do similar visual work as a completely no-commitment option. Homes & Gardens has covered several low-cost ways to upcycle furniture and rework a color scheme without a full repaint, which is worth a look if your walls are a rental no-go.
Thrift and Repurpose Key Pieces
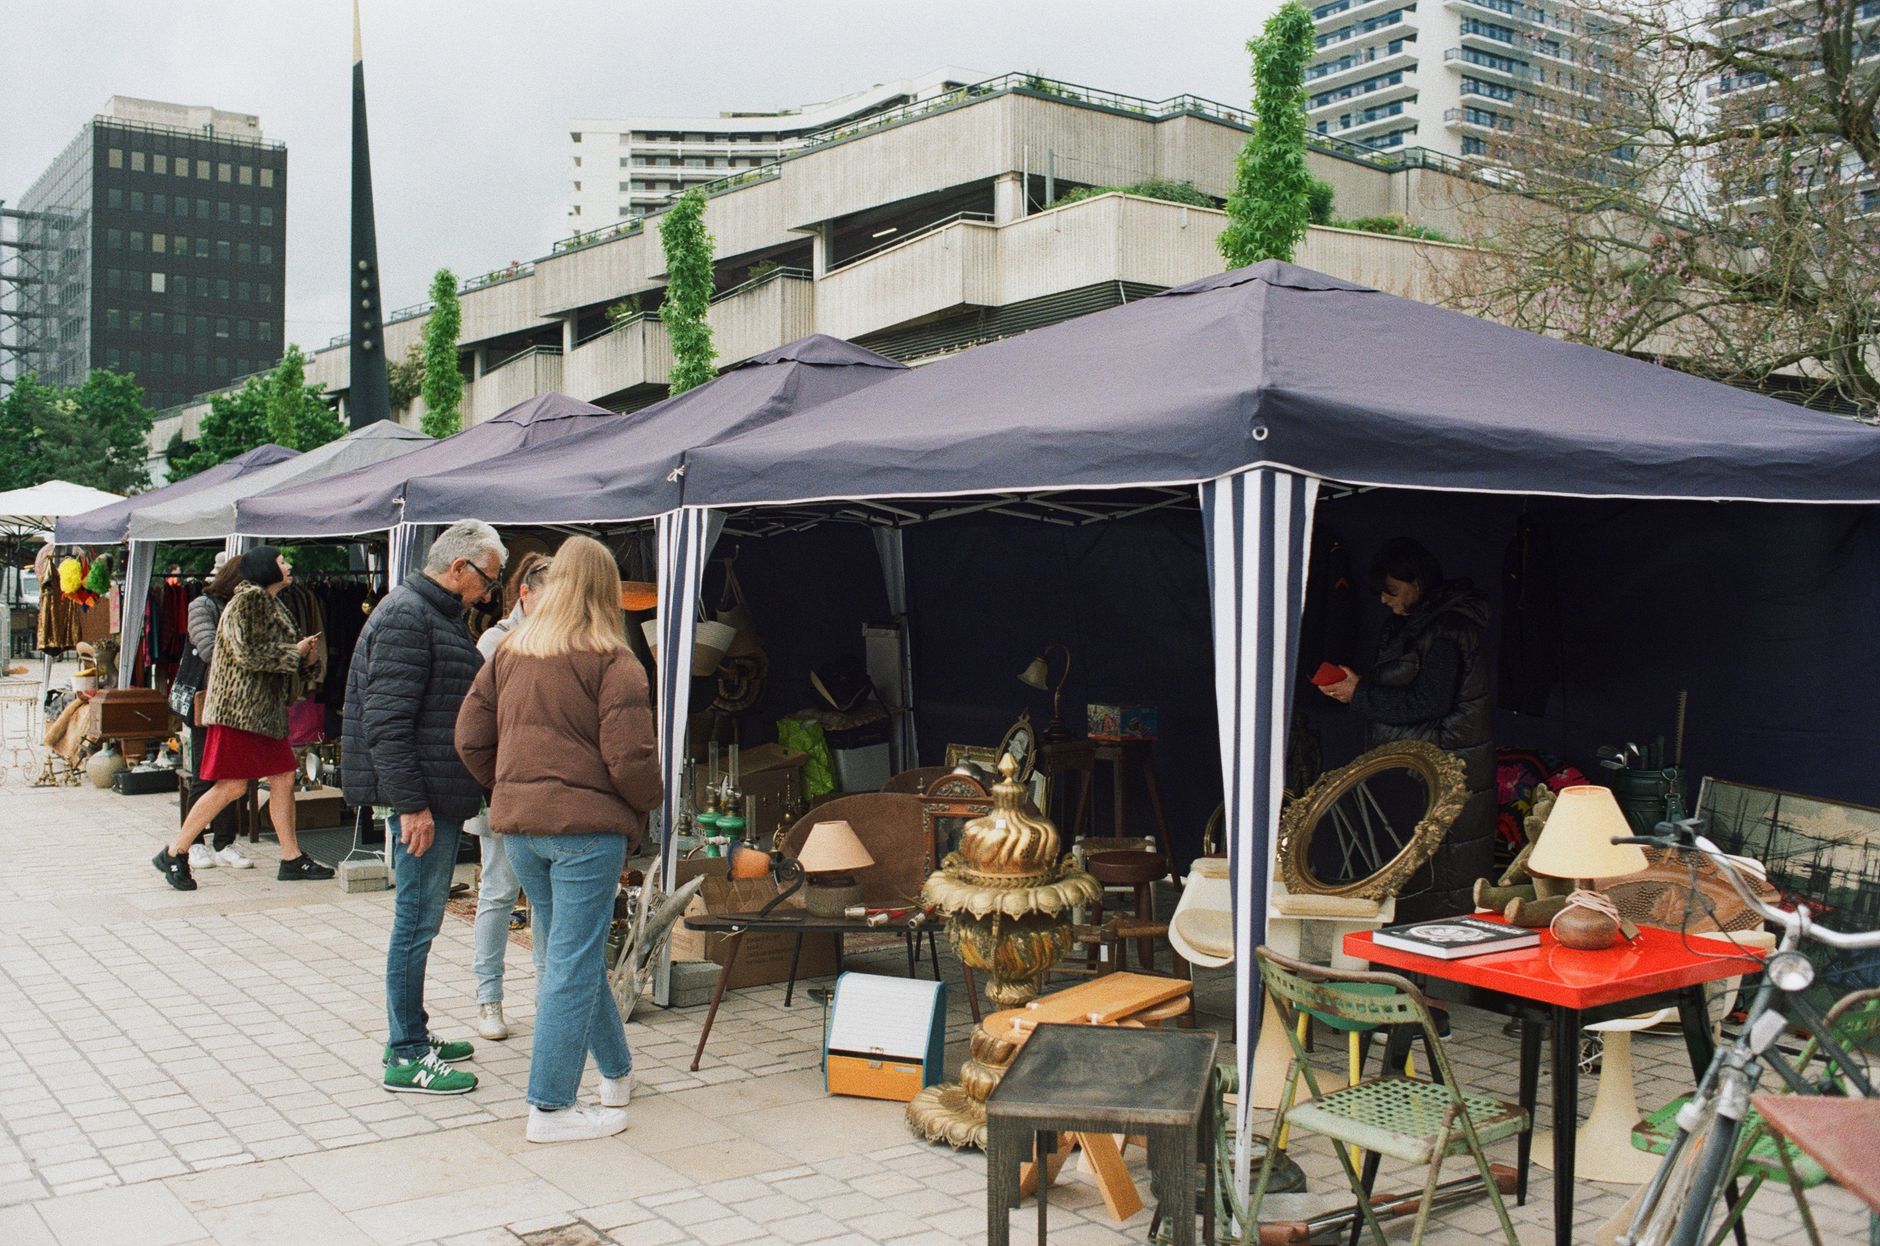 Photo by Alexis B on Pexels
With $50 set aside, thrift stores and secondhand marketplaces can cover one real piece: a side table, an armchair, a set of frames, or a lamp base with good bones. Before you buy, check the joints for wobble, give upholstered pieces a smell test, and make sure any hardware still works or can be easily swapped.
A $15 secondhand find rarely looks finished as-is, and that’s fine. A coat of paint or a hardware swap, the same kind of touch used on the accent piece above, is usually what turns a thrift-store table into something that looks like it was chosen on purpose rather than picked up in a hurry.
Layer In Textiles and a Focal Point
 Photo by Designecologist on Pexels
This is where the room starts to feel finished rather than just fixed. New or DIY throw pillow covers, paired with one oversized throw blanket, add warmth and color without a big spend, and this is a good place to lean on the $60 textile budget. One piece of art, sized to actually fill the wall rather than float in the middle of it and hung at eye level, gives the room a clear focal point instead of a collection of small, disconnected pieces.
Finish with a plant, real or a convincing faux one, tucked into whatever corner has been sitting empty. It’s a small addition, but it’s often the detail that makes a budget makeover read as “finished” rather than “in progress.” Growing Slower’s write-up of a real living room refresh is a good gut check here: their itemized before-and-after cost breakdown shows how a handful of small, cheap layers add up to a room that looks meaningfully different, not just tidier.
The $200 Spending Plan (Table)
Here’s the full plan laid out, plus what to do if $200 still feels like too much.
| Category | Suggested spend | What you get | Skip if money’s tight |
|---|---|---|---|
| Rearranging | $0 | A focal point and a real conversation area | Never skip, this is free |
| Paint or accent | $40 | One wall, surround, or piece that resets the whole room’s tone | Use peel-and-stick or skip to furniture only |
| Textiles | $60 | New pillow covers, one throw, a rug if needed | Pillow covers alone still make a difference |
| Thrifted piece | $50 | One real furniture upgrade with intentional styling | Skip and shop your own house instead |
| Decor and plant | $30 | Art at eye level plus one plant for life and color | A single framed print can stand in |
| Buffer | $20 | Room for hardware, tools, or a price that ran over | Only touch this if something goes wrong |
If you only have $50, spend it on rearranging (free), one accent-color throw pillow set, and a single plant. That’s the shortlist version of this entire plan. What to skip regardless of budget: a new sofa, custom drapes, or anything permanent like built-ins. None of those fit inside a $200 makeover, and none of them are what makes a budget living room read as pulled together anyway.
Jenna Kate at Home’s roundup of low-cost living room ideas backs this up with a similar split between free changes and ones that cost real money: her no-cost versus low-budget breakdown is worth skimming if you want more variations on each category above.
The Renter-Friendly, No-Damage Version
Every step above has a reversible version. Use tension rods instead of curtain hardware that requires drilling. Choose removable wallpaper over paint. Hang art with command strips rated for the frame’s weight instead of nails. Update furniture with a slipcover or a folded throw instead of paint if you’re not sure the piece will come with you at your next move.
The goal is the same room-level transformation without putting your security deposit at risk. None of these swaps cost meaningfully more than their permanent counterparts, they just require picking the version that comes off cleanly. If your living room is part of a smaller apartment, most of these same swaps also work as a starting point for a budget bedroom makeover down the hall, since the same reversible logic (rugs, textiles, removable wallpaper) applies room to room.
Frequently Asked Questions
How can I make my living room look expensive on a budget?
Stick to a consistent color palette, choose one clear focal point like art or a thrifted statement piece, and layer in textiles like pillows and a throw. Those three moves do more for a room’s perceived cost than any single expensive item would.
What is the cheapest way to update a living room?
Rearranging the furniture and shopping your own house first. Both cost nothing, and moving seating toward a real focal point is often the single biggest visible change in the whole project.
Can you really makeover a living room for $200?
Yes, as long as you prioritize spend on one accent paint project, one thrifted piece, and textiles, and skip big furniture purchases like a new sofa entirely.
What should I buy first on a living room budget makeover?
Paint or an accent update for the walls, since it sets the tone every other element in the room has to work with.
How do I decorate a living room on a budget as a renter?
Lean on reversible options: removable wallpaper, command strips for art, slipcovers instead of furniture paint, and rugs instead of anything that requires drilling into the floor or walls.
Where can I find cheap living room furniture and decor?
Thrift stores, local marketplace listings, and your own other rooms, in that order, before you ever walk into a retail store.
How do I add color to a living room without repainting?
New throw pillow covers, a rug, and one piece of art bring meaningful color into a room without touching the walls at all.
What makes the biggest visual difference in a living room makeover?
A clear focal point, whether that’s art, a fireplace, or a well-placed thrifted piece, combined with furniture arranged toward conversation instead of just facing the TV.
The Room You Have Is Enough to Start With
A living room makeover was never really about how much you spend. It’s about spending the $200 you do have in the right order: free changes first, then the one paint project that resets the room’s tone, then the layers that make it feel finished. Follow that order and the room will look like it cost a lot more than it did.
If this is one room in a bigger weekend project, our full budget room makeover playbook walks through the same priority-order approach for every room in the house, and it’s worth bookmarking before you start on the next one.


