
How to Paint a Room Like a Pro: The Complete DIY Guide
Learning how to paint a room the right way is one of the cheapest, highest-impact upgrades you can make in a home, but there is a real gap between “we painted it ourselves” and “who did this?” That gap has almost nothing to do with the price of the paint. It comes down to prep and technique, done in the right order, the way professionals actually work. This guide covers the tools worth buying, how much paint you actually need, the correct painting order, the cutting-in and rolling techniques that eliminate lap marks and roller stipple, and the fixes for mistakes that trip up almost every first-timer, plus a realistic sense of the time and money to budget.
What You’ll Need: Tools, Supplies, and Time
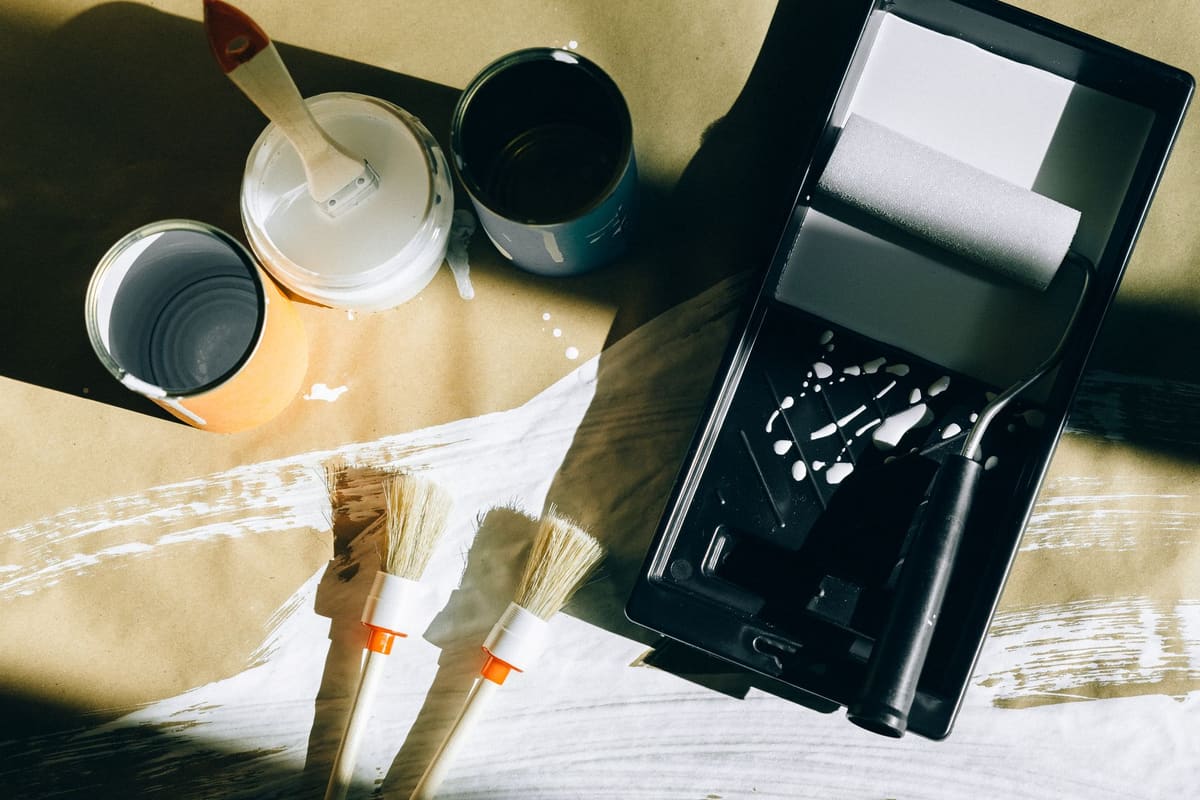 Photo by Nataliya Vaitkevich on Pexels
Before you open a single can, get everything laid out. Running to the hardware store mid-project because you forgot painter’s tape is how a Saturday afternoon turns into a Saturday-and-Sunday project.
Here’s the full supply list:
- Angled sash brush (2 to 2.5 inches)
- Roller frame plus roller covers (3/8-inch nap for smooth drywall)
- Extension pole for the roller
- Paint tray and disposable tray liners
- Painter’s tape
- Drop cloths (canvas holds up better than plastic sheeting, which slides)
- Spackle and a putty knife
- Fine-grit sandpaper (150 to 220 grit) and a tack cloth
- A screwdriver for outlet covers and hardware
It genuinely pays to invest in quality painting tools here. A cheap, thin roller cover sheds lint into your finish, and a bargain brush splays out and leaves stray bristles behind. A good brush and roller pick up more paint and lay it down more evenly, which is the difference between two clean coats and three frustrating ones.
For time and budget: an average 10-by-12-foot bedroom runs $150 to $300 for paint, primer, and supplies (assuming you don’t already own tools), and takes a full day for prep and cutting in, then a second day for the final coat and cleanup. Most of that time is prep and drying, not brush-and-roller work, which is exactly why rushing the process is where amateur results come from.
How Much Paint (and Primer) Do You Actually Need?
Nothing derails a paint day faster than running out of paint halfway through a wall with no matching can on hand. The quick formula: take your total wall square footage, divide by 350 to 400 square feet (the typical coverage of one gallon), and add about 10% as a buffer for trim cutouts and touch-ups. Then multiply by the number of coats you’re planning, which is almost always two.
Primer isn’t always necessary, but you’ll want it if you’re painting bare drywall, covering a lot of patched spots, making a drastic color change (dark to light or vice versa), or painting over a stain that could bleed through. If your walls are already a similar color and in good shape, a quality paint-and-primer-in-one product can skip that extra step. For the exact math on your specific room dimensions, our full paint calculator guide breaks down the formula wall by wall so you’re not guessing.
Choose the Right Paint and Sheen
Stick with interior acrylic latex paint for walls; it dries fast, cleans up with water, and holds color well. Before you commit to a color, buy a sample and paint a two-foot swatch directly on the wall, then look at it in both daytime and evening light. Paint chips under store fluorescents almost never match how a color reads in your actual room.
Sheen matters just as much as color:
- Flat or matte: best for ceilings and low-traffic areas, since it hides imperfections but shows scuffs easily.
- Eggshell or satin: the right choice for most walls; durable enough to wipe down without looking shiny.
- Semi-gloss: reserved for trim, kitchens, and bathrooms, where moisture and cleaning come into play.
Prep the Room the Right Way (Where Pros Win or Lose)
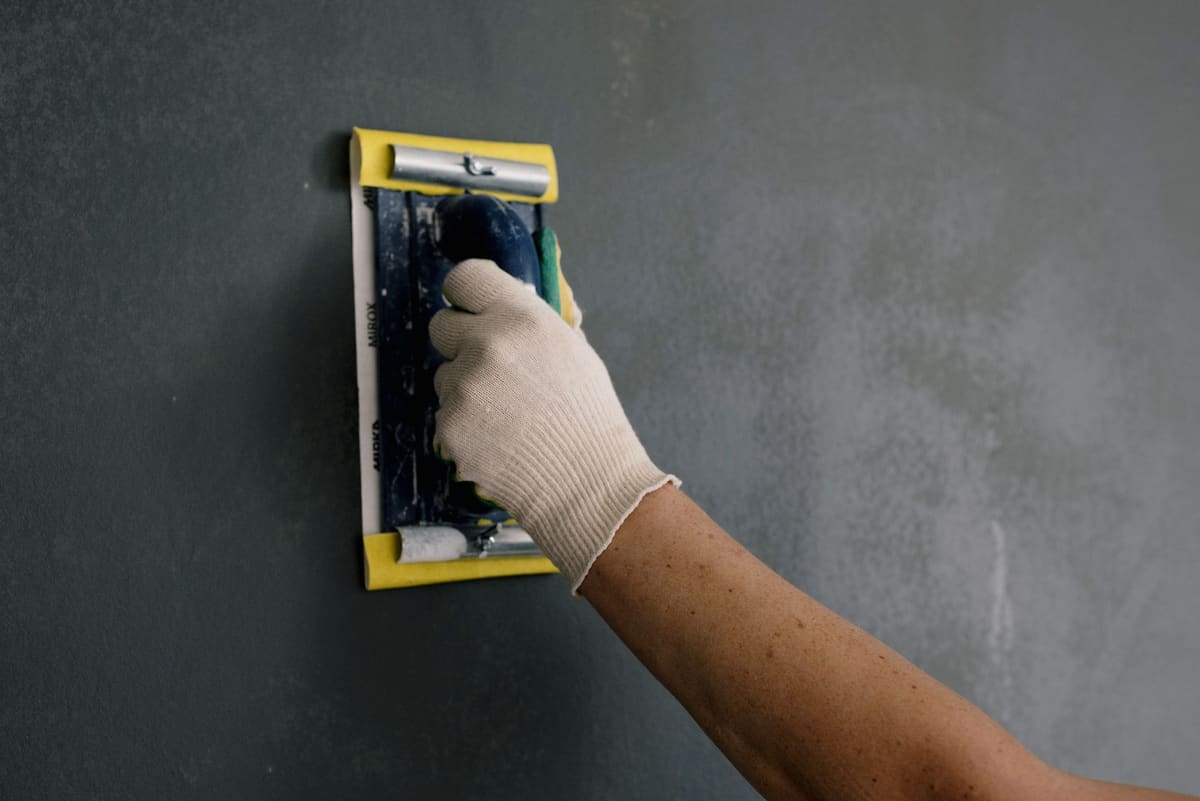 Photo by Ksenia Chernaya on Pexels
This is the stage that separates a professional-looking finish from an obviously DIY one, and it’s the stage most people rush.
Start by clearing the room, or pushing furniture to the center and covering it, then laying drop cloths along the perimeter. Remove outlet and switch covers, curtain rods, and any wall hardware, and bag the screws with each piece so nothing gets lost. Patch every nail hole and dent with spackle, let it dry fully, sand it smooth, and wipe away the dust with a tack cloth before you paint over it; paint doesn’t hide texture, it highlights it.
Clean the walls next. A quick wipe-down removes dust that would otherwise keep paint from bonding properly, and in kitchens or bathrooms you’ll want a degreasing cleaner to cut through cooking residue or soap film. Finally, apply painter’s tape along trim, the ceiling line, and any edges you want crisp, pressing the edge of the tape down firmly with a putty knife or your fingernail so paint can’t creep underneath it. For a deeper walkthrough of this entire stage, see our guide to properly prepping your walls before you ever open a can of paint.
Paint in the Right Order: Ceiling, Then Trim, Then Walls
Pros almost always work top to bottom: ceiling first, then trim, then walls. The logic is simple. Any drips or spatter from the ceiling land on surfaces you haven’t finished yet, so nothing gets ruined. Painting the walls last also means you’re cutting in against crisp, already-dry trim lines instead of trying to protect wet trim while you roll.
Cut in the ceiling edges with your angled brush, then roll the ceiling with a 3/8-inch roller in one consistent direction, overlapping each pass slightly so you don’t leave thin, uneven bands.
Cutting In Like a Pro
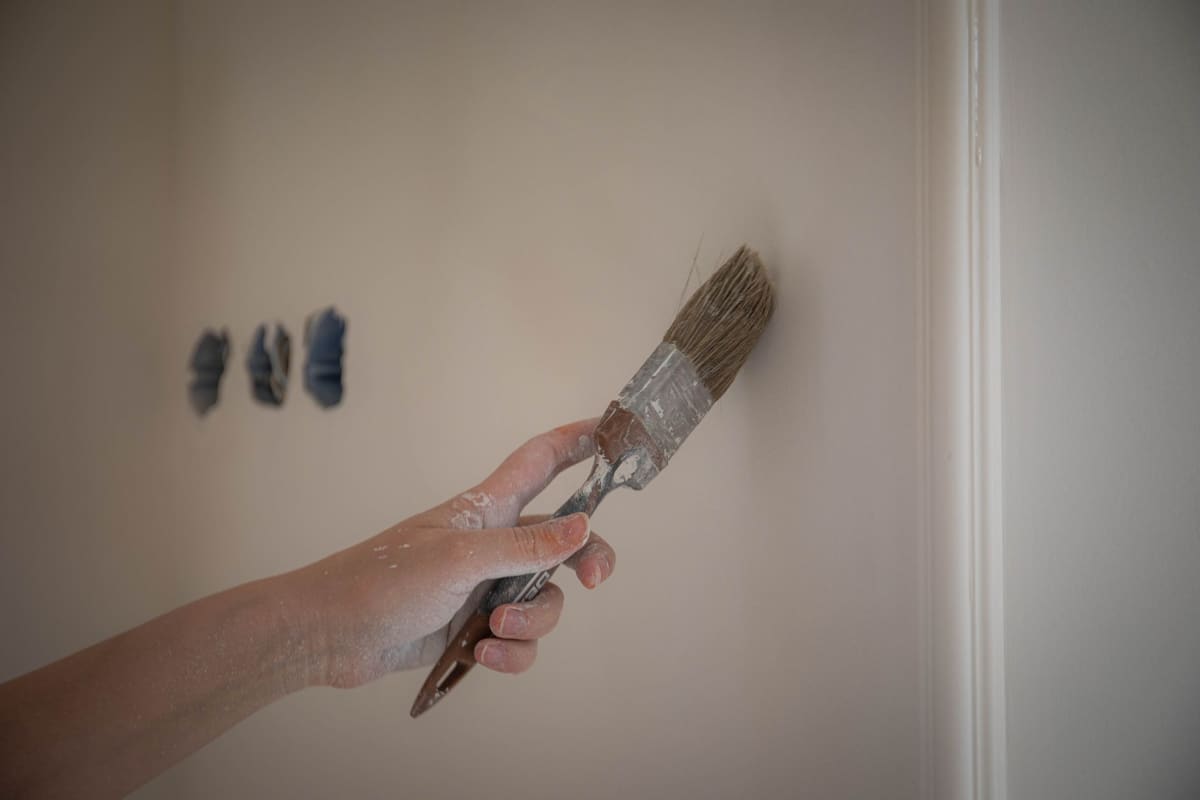 Photo by Sergey Meshkov on Pexels
Cutting in is painting the edges, corners, and areas around trim and outlets by hand before rolling the larger, open wall space. Load your angled brush lightly (dip about a third of the bristle length, then tap off the excess rather than wiping it on the can’s rim) and paint a steady 2- to 3-inch band along the ceiling line, corners, and trim.
The trick pros rely on is keeping a wet edge: cut in a section, then roll it while that band is still wet, so the brushed and rolled paint blend into one continuous texture instead of showing a visible line where hand-painted edges meet roller texture. For the full technique for cutting in paint, including hand position and how to keep your line straight without tape, we’ve got a dedicated tutorial worth reading before your first wall.
Rolling the Walls for an Even, Flawless Finish
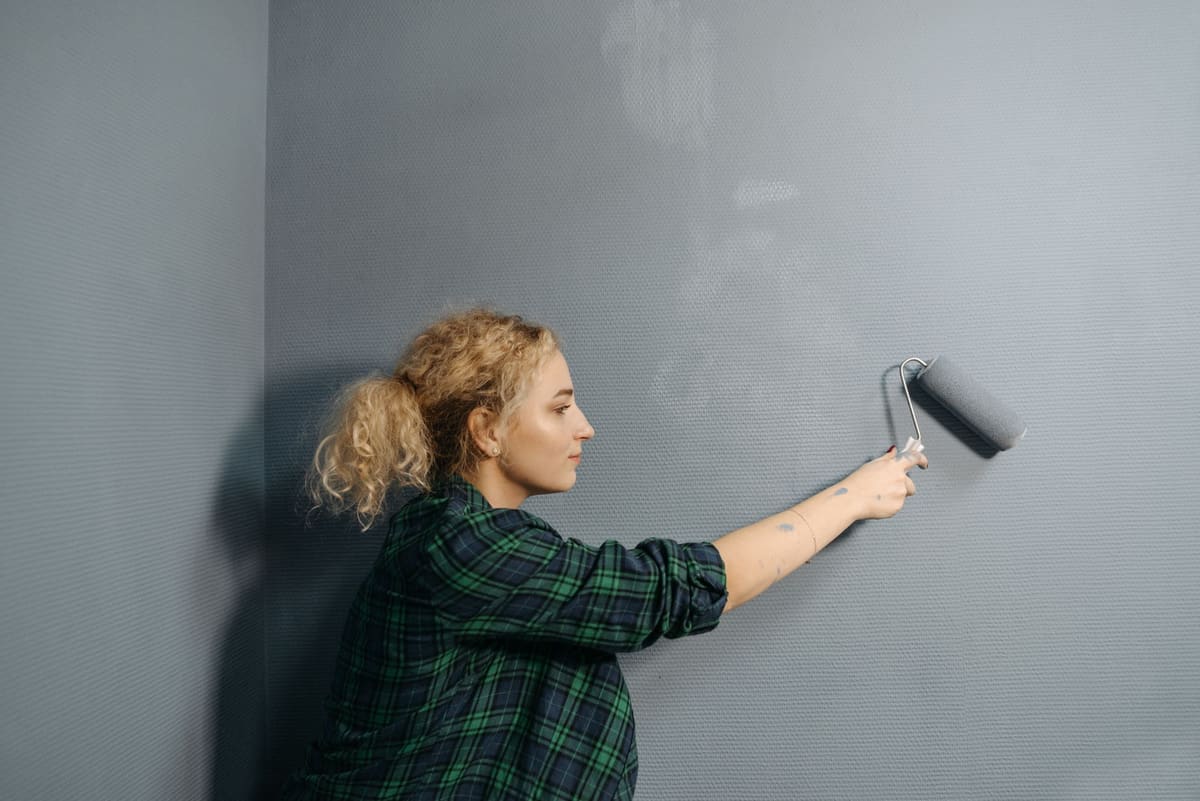 Photo by Pavel Danilyuk on Pexels
Load the roller fully, then start with a W or M shape on the wall, about a three-foot section at a time, and fill in the gaps without lifting the roller. Working in manageable sections and always rolling back into wet paint is what prevents lap marks, those faint stripes that show up when dry paint edges get rolled over again.
Once a section is filled in, go back over it with a light, even pass (a “back-roll”) to knock down stipple and even out the texture. Don’t keep working paint once it starts to tack up; overworking a section that’s beginning to dry is one of the fastest ways to create visible roller marks. Plan on two coats for even color and full durability, and let the first coat dry fully (check the can, but usually two to four hours) before starting the second.
Paint the Trim and Baseboards
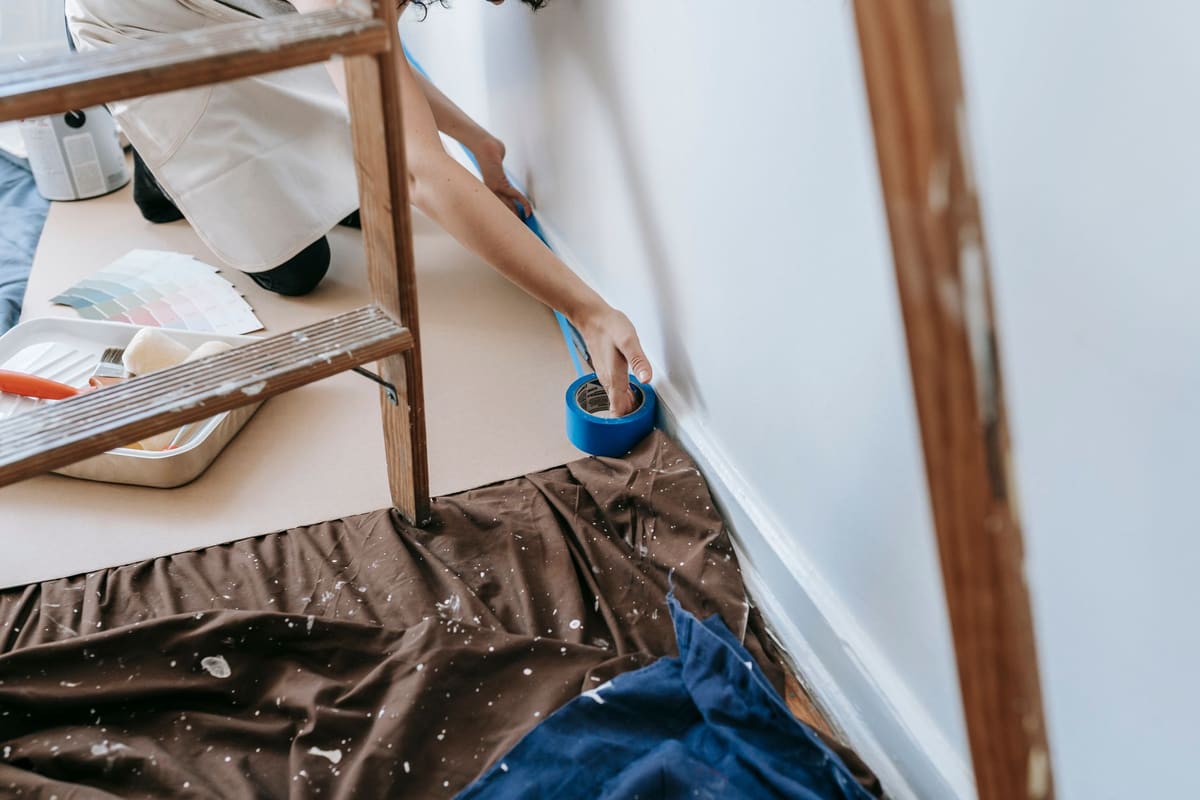 Photo by Blue Bird on Pexels
Trim gets its own pass, typically in semi-gloss, with a smaller angled brush for control around tight corners and hardware. Whether you paint trim before or after the walls comes down to your tape strategy: many pros do trim first, tape it off once dry, then paint the walls, which avoids any risk of wall paint dragging across fresh trim. For the full method, including how to get factory-smooth lines on baseboards, our complete guide to painting trim and baseboards covers it step by step.
The Pro-Finish Details Most Guides Skip
A few small habits are what actually separate a professional result from a serviceable one:
- Maintain a wet edge at all times. Work in sections small enough that you’re always rolling into paint that hasn’t started to dry, especially in warm rooms where paint sets up faster.
- Pull tape while the final coat is still wet, or score along the tape’s edge with a utility knife first. Waiting until the paint is fully cured risks peeling off chunks of dried paint along with the tape, leaving a jagged, torn line instead of a crisp one.
- Check your work with raking light. Once a wall is dry, shine a flashlight or work light across it at a low angle. This reveals “holidays” (thin or missed spots) and roller texture that’s invisible under normal overhead lighting, while you still have time to touch it up before you’ve put the furniture back.
Fixing Common Painting Mistakes
Even careful painters run into trouble, and the good news is almost every common issue has a fast fix:
- Drips and runs: let the drip dry completely, then sand it flush and touch up with a light coat.
- Roller marks or stipple: usually a sign of a low-quality roller cover or overworking the paint; back-rolling lightly while the section is still wet prevents most of this.
- Patchy coverage or holidays: caught early, a quick second pass with a lightly loaded roller blends right in.
- Paint bleeding under tape: happens when the tape’s edge wasn’t pressed down firmly; let the paint dry, then carefully cut a clean line with a utility knife.
- Brush streaks: usually from a brush that’s overloaded or paint that’s too thick; thin, even coats and a quality angled brush largely solve this.
For a deeper troubleshooting walkthrough with photos of each issue, our full guide to fixing paint mistakes covers exactly how to repair every one of these without repainting the whole wall.
Cleanup, Drying, and Storing Leftover Paint
Wash water-based brushes and rollers promptly in warm, soapy water; letting paint dry in the bristles ruins a good brush fast. If you’re taking a short break mid-project, wrap brushes and rollers tightly in plastic wrap and stash them in the fridge instead of washing and re-loading them.
Give the final coat real time to cure, not just dry, before hanging art or moving furniture back; touch-dry usually happens within hours, but full cure can take two to four weeks. Label your leftover paint can with the room and date, and store it somewhere temperature-stable for future touch-ups.
This same top-to-bottom order and prep-first approach is standard practice, confirmed by Benjamin Moore’s own painting guide and Family Handyman’s step-by-step process. For a quick refresher on sheen and tool recommendations before you shop, Home Depot’s painting guide is a solid, practical reference too.
Frequently Asked Questions
What order should you paint a room in?
Paint the ceiling first, then the trim, then the walls, working top to bottom. This order means any drips fall onto surfaces you haven’t finished yet instead of ruining ones you already have.
Do you cut in or roll first?
Cut in the edges and corners first with an angled brush, then roll the open wall area while that cut-in band is still wet. Rolling into a wet edge is what blends the brushed and rolled paint into one seamless texture.
How many coats of paint does a room need?
Most rooms need two coats for even, durable color. A drastic color change or a stain-prone wall may need a coat of primer first, followed by two coats of paint.
Do I need to prime before painting?
Prime bare drywall, freshly patched spots, visible stains, or any big jump in color or sheen. If your walls are already clean and a similar color, a paint-and-primer-in-one product is usually fine on its own.
How much paint do I need for one room?
Divide your total wall square footage by 350 to 400 square feet per gallon, multiply by your number of coats, and add about 10% as a buffer. Our paint calculator guide walks through the exact math for different room sizes.
When should I remove painter’s tape?
Pull it while the final coat is still wet, or score along the tape’s edge with a utility knife first. Waiting until the paint is fully dry risks peeling off chunks of paint along with the tape.
How long does it take to paint a room?
Prep plus two coats on an average bedroom typically takes a full day to a full weekend, with most of that time going to prep work and drying between coats rather than actual painting.
What paint finish is best for walls?
Eggshell or satin works best for most walls, since it’s durable and easy to wipe clean. Use flat or matte on ceilings, and save semi-gloss for trim and high-moisture rooms like kitchens and bathrooms.
Ready to Grab a Brush
Painting a room well isn’t about talent, it’s about sequence: prep thoroughly, paint in the right order, keep a wet edge from cutting in through the final roll, and fix small issues as you spot them instead of after the fact. Once these walls are handled, browse our DIY category for more weekend-sized projects to tackle next.


